
Thinking about adding old-world sparkle to your manicure? A vintage nail charms set is an easy way to give plain nails ornate detail without advanced tools. This guide walks beginners through what the kit contains and each step from prep to finish.
What’s inside and who made it
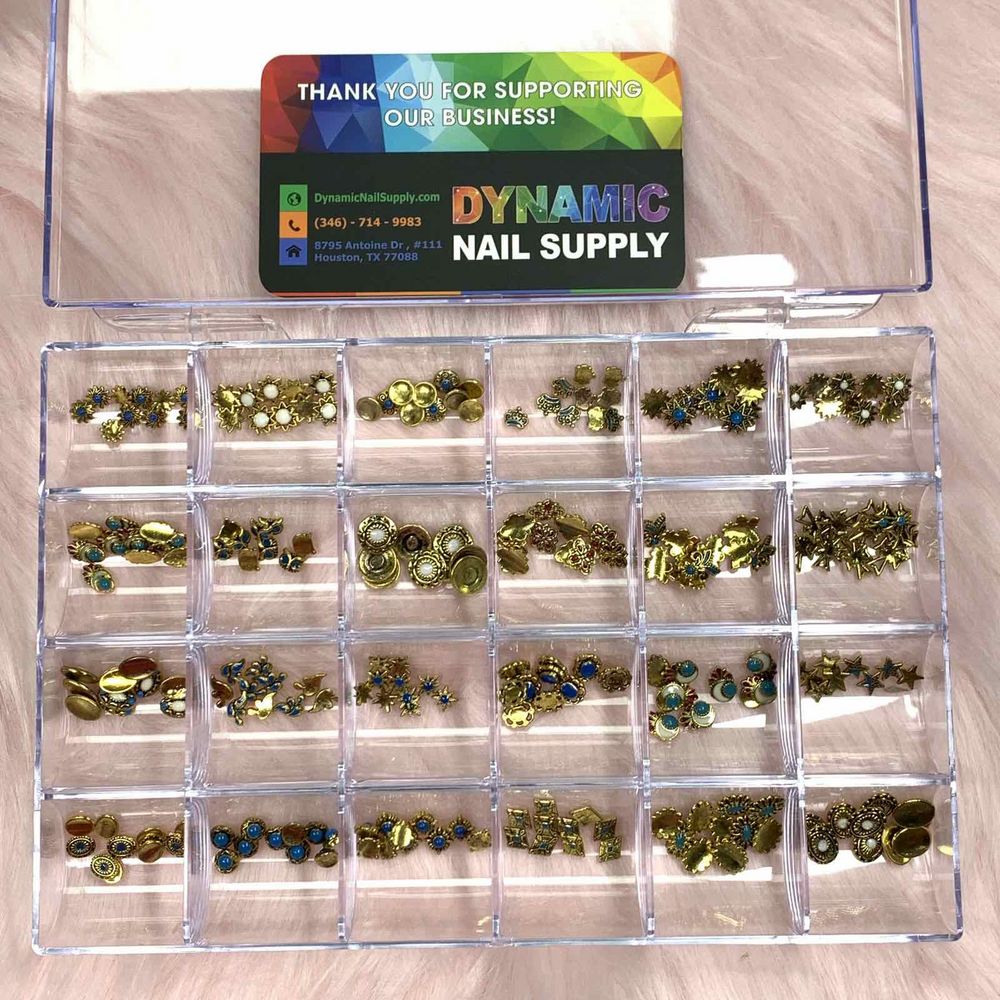
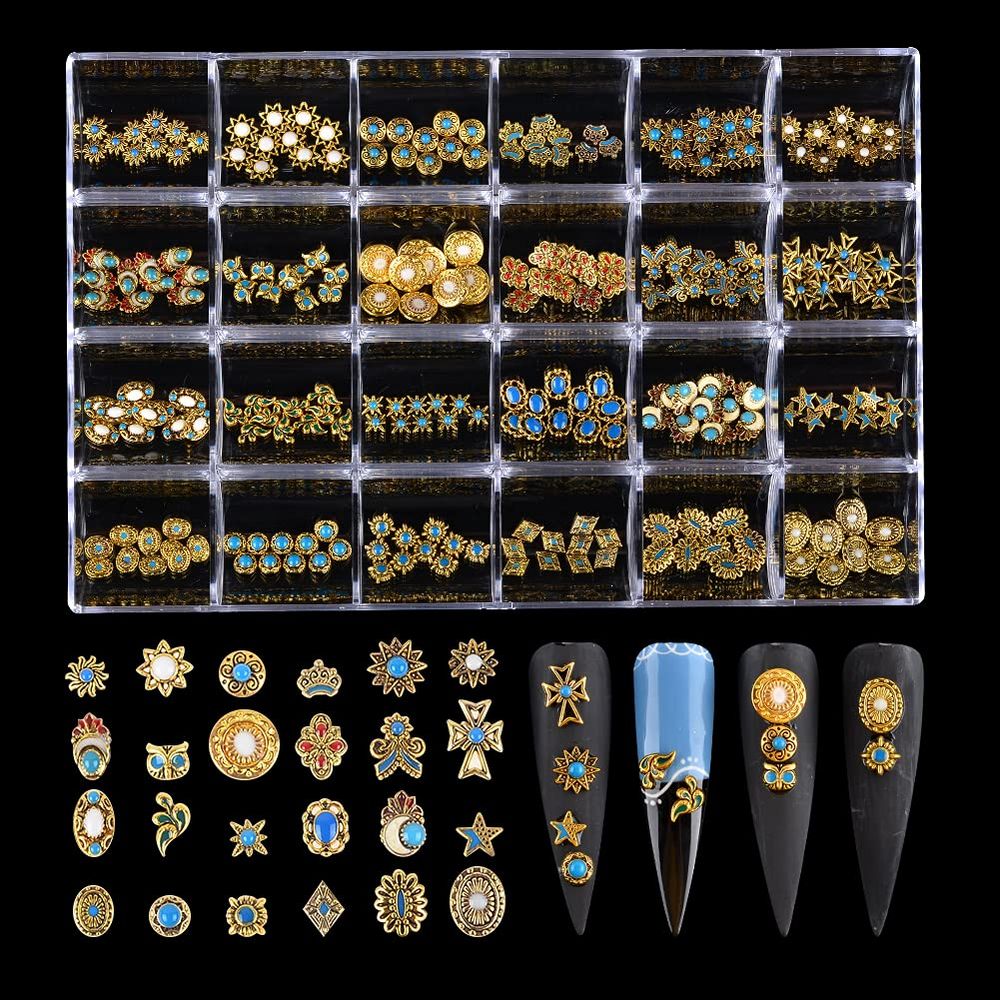
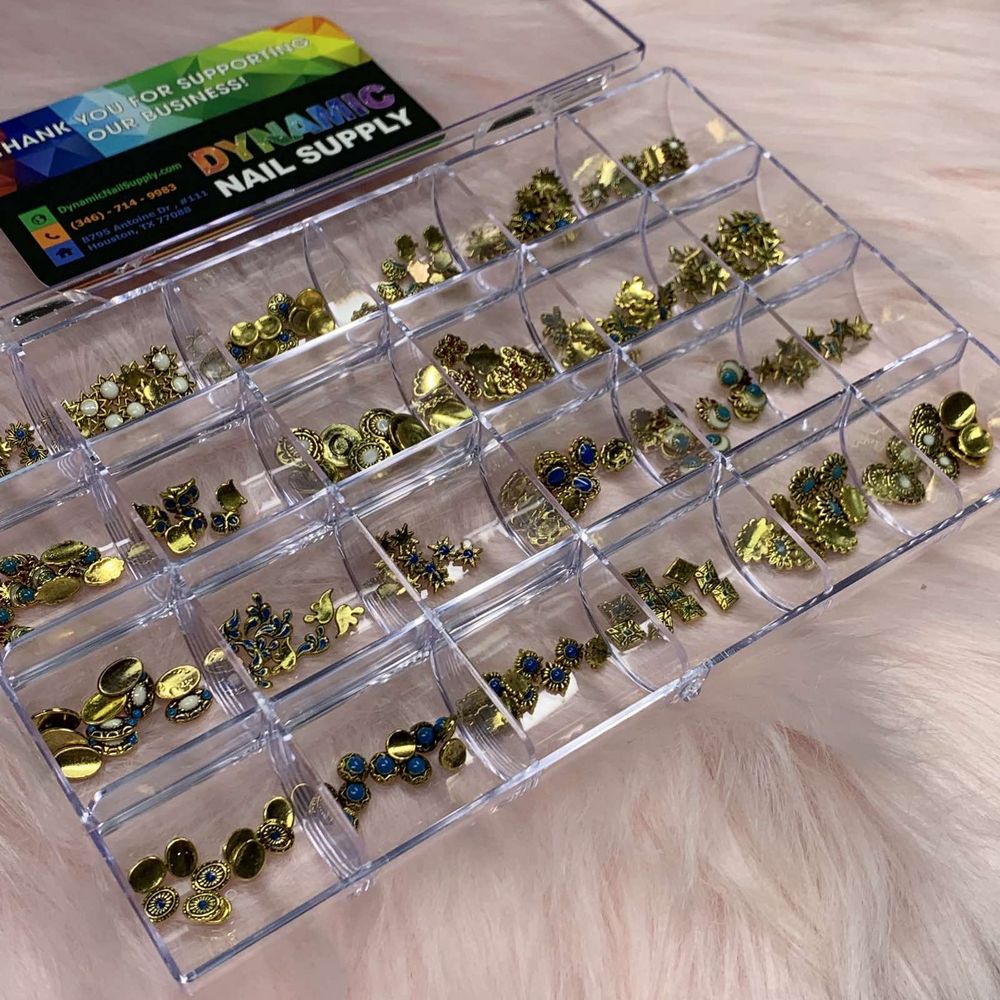
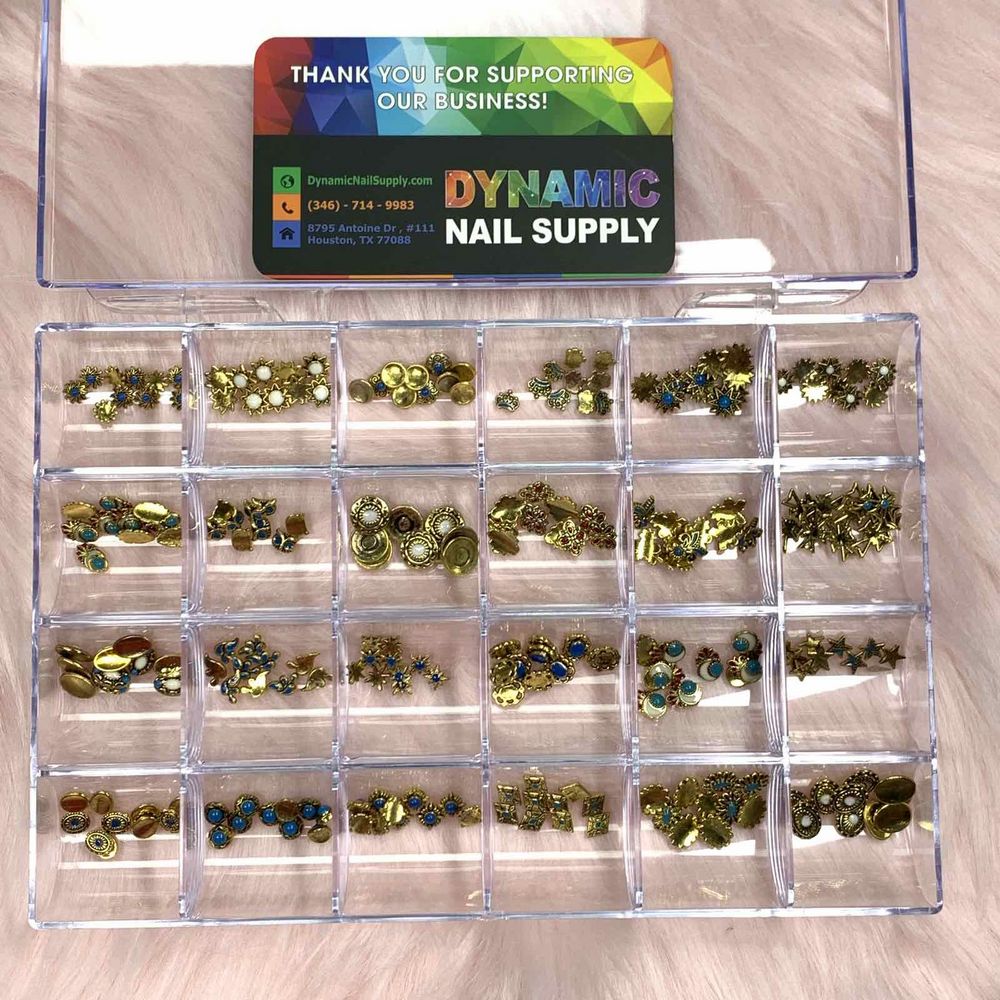
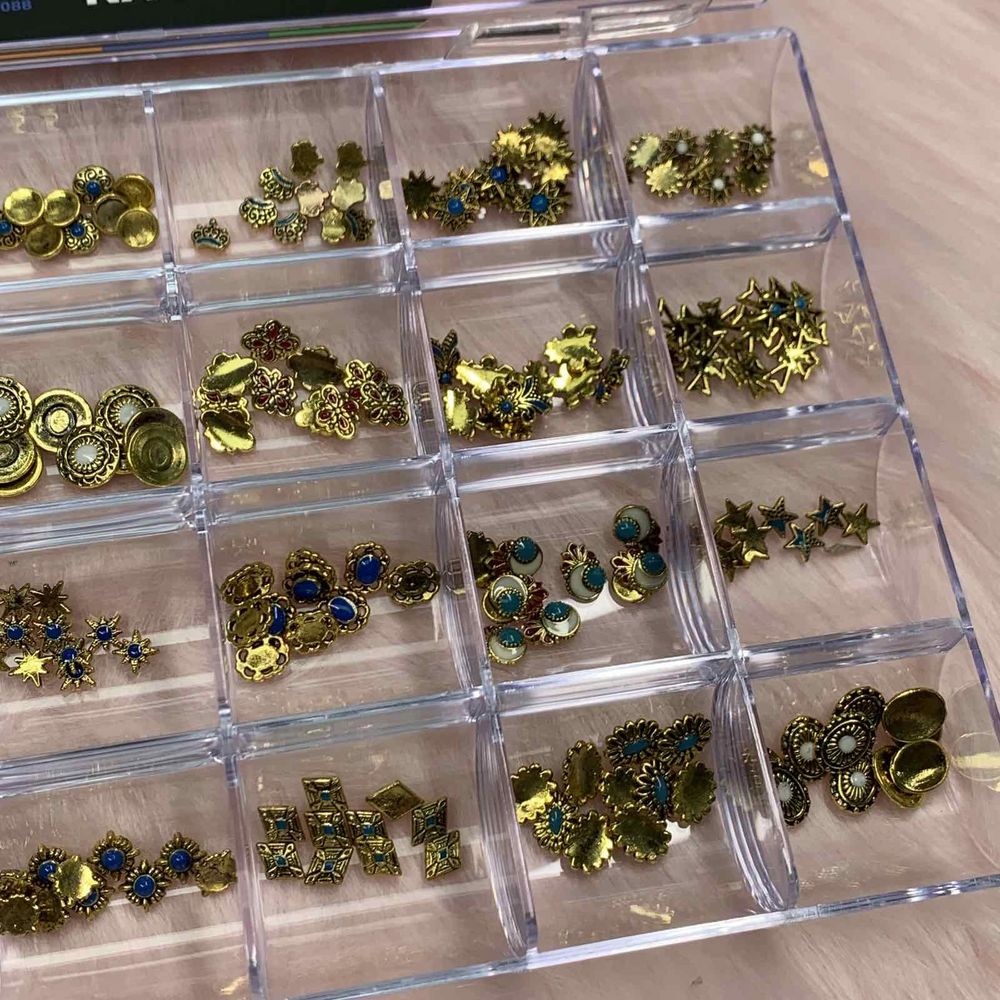
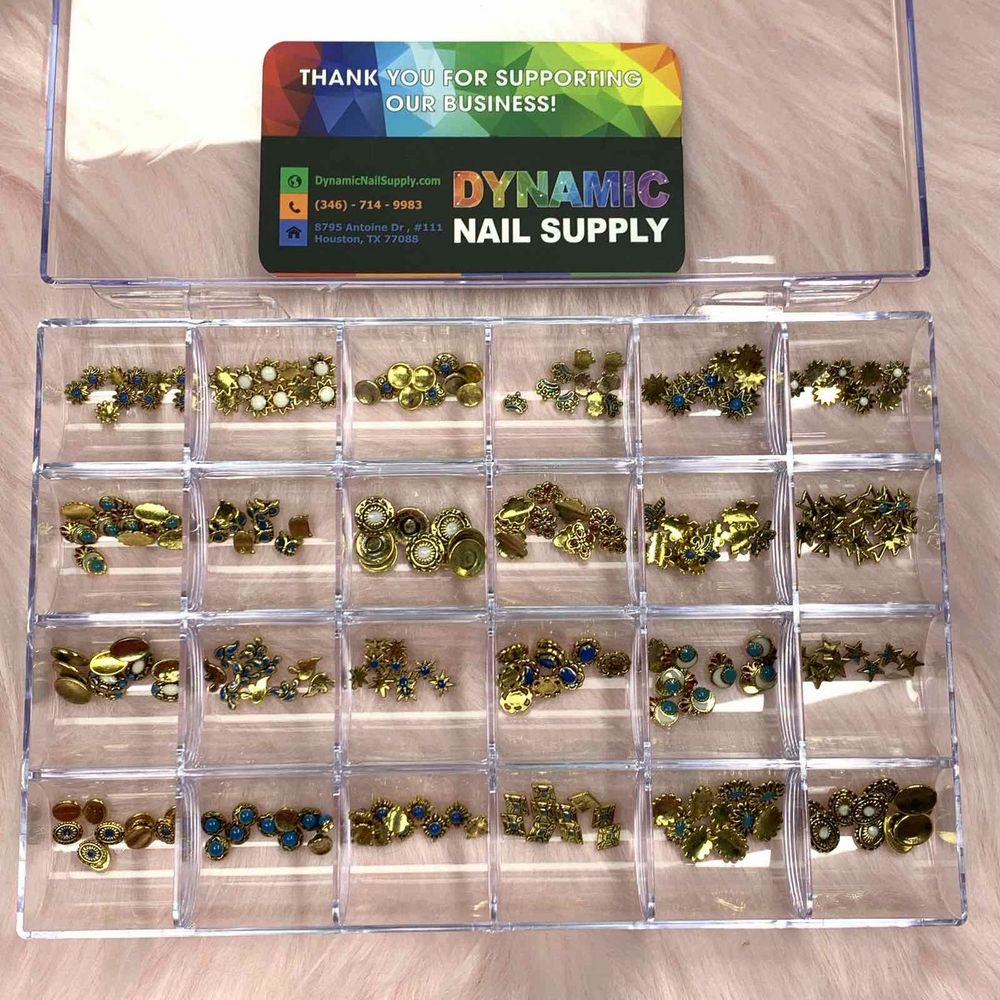
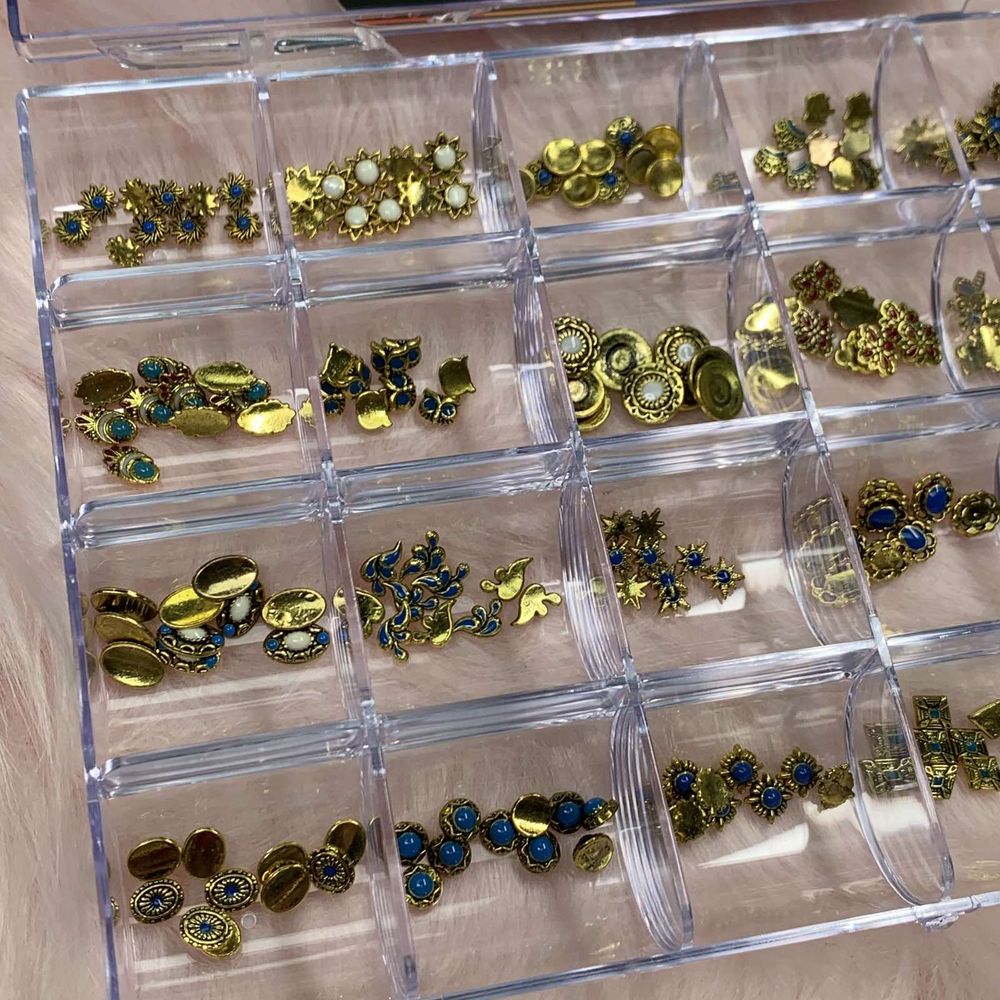
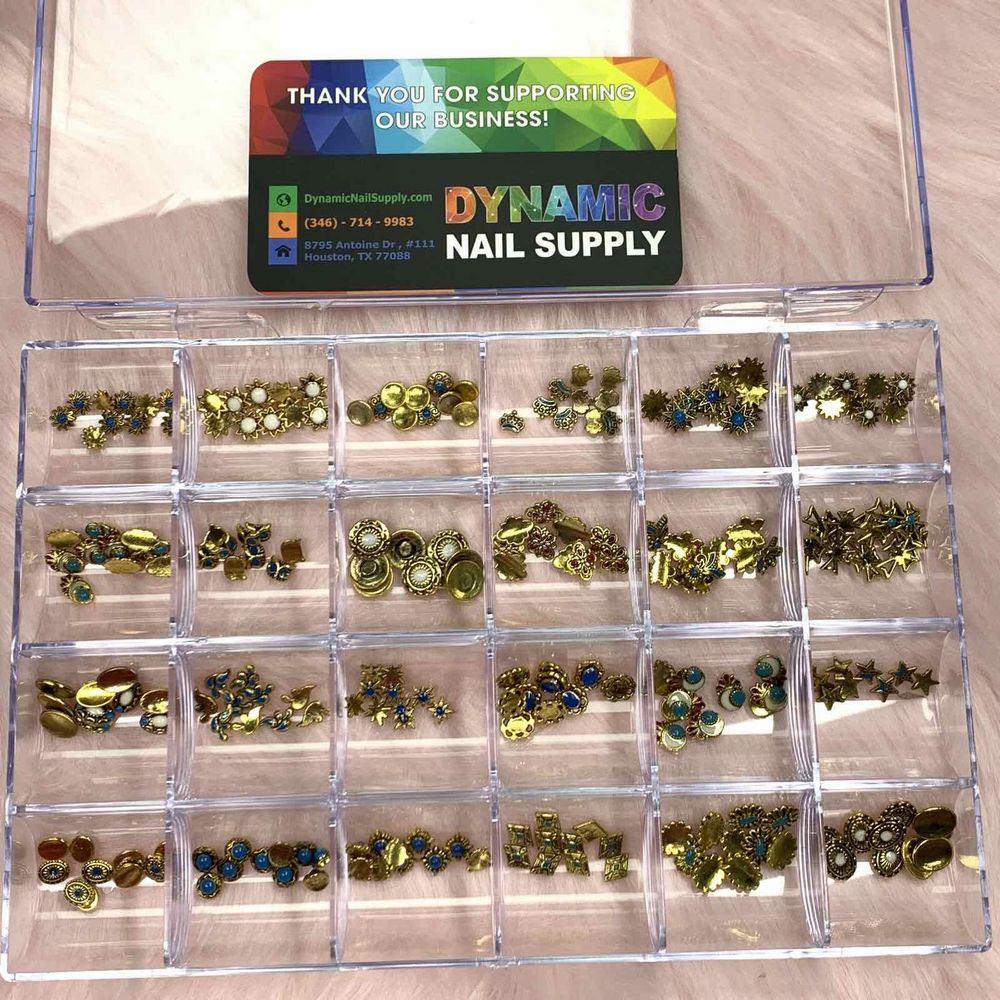
The set is a 240-piece charms kit in a gold tone designed for nail decoration. It contains 24 distinct shapes with 10 pieces of each shape, giving you variety for full manicures or mixed-accent designs. The box format keeps small pieces organized and handy for repeat use.
If you want to see a ready-to-buy option that matches this description, check this product page: gold vintage nail charms set
Why choose a vintage nail charms set?
Charm sets like this are ideal for adding ornate, metallic touches—think tiny filigree, stars, bows or geometric motifs—without needing to sculpt or hand-paint intricate details. They work well for accent nails, bridal looks, editorial styles, or simple at-home glam when paired with a contrasting polish.
Essential prep: what you need and basic steps
Gather basic supplies before you begin: a clean nail file, buffer, nail cleanser or alcohol wipe, base coat, top coat, tweezers or a wax picker tool, and small brushes or an orange stick for adjustment.
- Clean and shape: File and shape nails, then push back cuticles. Remove oils with a cleanser.
- Base coat: Apply a thin base coat and cure if using gel; allow regular polish to dry to the touch.
- Plan your layout: Lay charms out on a tray in the order you’ll use them—this saves time once adhesive is applied.
Applying the charms: a step-by-step beginner method
There are a few common ways to attach nail charms: with a wet top coat, nail glue, or gel. Below is a simple method using nail glue for secure hold.
- Apply color: Paint your base color and let it dry fully (or cure if using gel).
- Glue placement: Use a tiny drop of nail glue where you want the charm. For small pieces, less is more—use just enough to anchor the charm.
- Pick and place: Use fine tweezers or a wax picker to lift a charm, then gently press it onto the glued spot. Hold for a few seconds to ensure adhesion.
- Adjust: If the piece is slightly off, use a clean orange stick to nudge it into position before the glue sets.
- Seal: Once all charms are in place and glue is dry, finish with a generous top coat around and over the edges of the charms to lock them in.
Finishing touches and variations
For a smoother feel and longer wear, apply two thin layers of top coat around the charm edges; avoid completely submerging highly dimensional charms if you want them to retain their raised look. If you prefer a flush finish, a builder gel can be used to encapsulate charms—cure according to product instructions.
Care, removal and safety tips
- Daily care: Avoid picking at the charms and wear gloves for heavy chores to reduce catch and loss.
- Removal: Soak in acetone or follow your usual removal routine for glued-on accents; do not force pieces off to avoid nail damage.
- Safety: Work in a well-ventilated area when using adhesives and cleansers. Keep small pieces away from children and pets.
Who this set is best for
This kit suits beginners who want a ready assortment without buying individual pieces. It also appeals to nail artists who need a variety of charms for client looks or sample boards. Because the set offers many repeats of each shape, it’s practical for small salons, students, or hobbyists building a decorative collection.
Practical tips to save time and get better results
- Sort frequently used shapes into a small bead tray for speed during service.
- Use a low-viscosity gel for encapsulation if you want stronger durability.
- Try placing a tiny dot of top coat first to preview placement before committing with glue.
This 240-piece gold vintage nail charms set is available at a listed price of $26.99; prices may change. If you have questions about ordering or availability, the seller provides contact information on the product listing.
With basic tools and a steady hand, you can transform simple manicures into ornate, vintage-inspired designs—one charm at a time.