

Gold metal frames add instant polish and structure to decorative nail work without complicated tools. This guide breaks down what these frames are, how to choose the right size, and a simple step-by-step method to apply them so beginners can get predictable, professional-looking results.
What are gold metal frames and why use them?
A gold metal frame is a small decorative metal outline designed to sit on or around the nail surface as part of a nail art composition. These lightweight frames create a defined border or focal point for gems, foil, painted details, or negative-space designs. Because they come pre-formed, they remove the need to hand-paint delicate lines and give a consistent metallic accent across multiple nails.
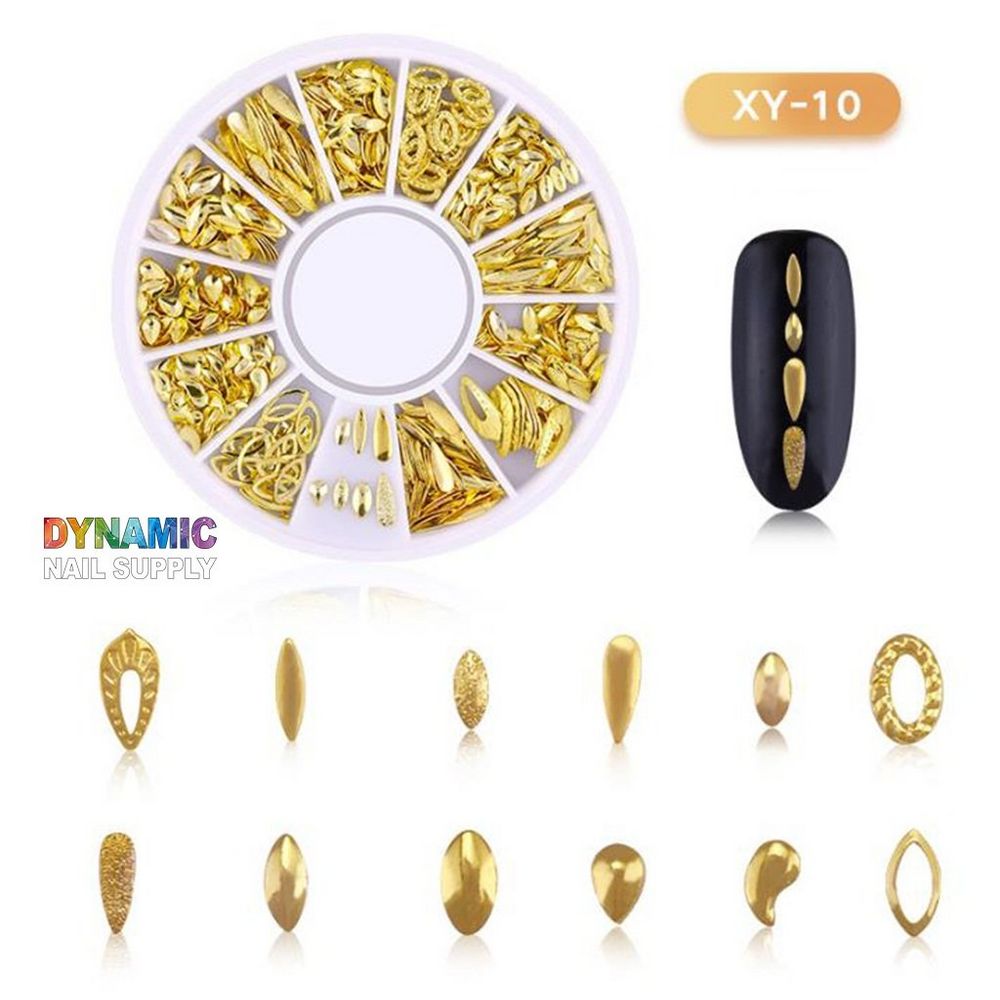
Available sizes and how to choose
This product is offered in multiple size options—9, 10, 12, and 17—so you can match frames to different nail widths and shapes. Smaller numbers fit narrow or accent nails, while larger sizes cover wider nail beds. For a natural fit, test a frame against the widest part of the nail before adhering; the ideal frame should sit comfortably without forcing the cuticle or overhanging the sidewalls.
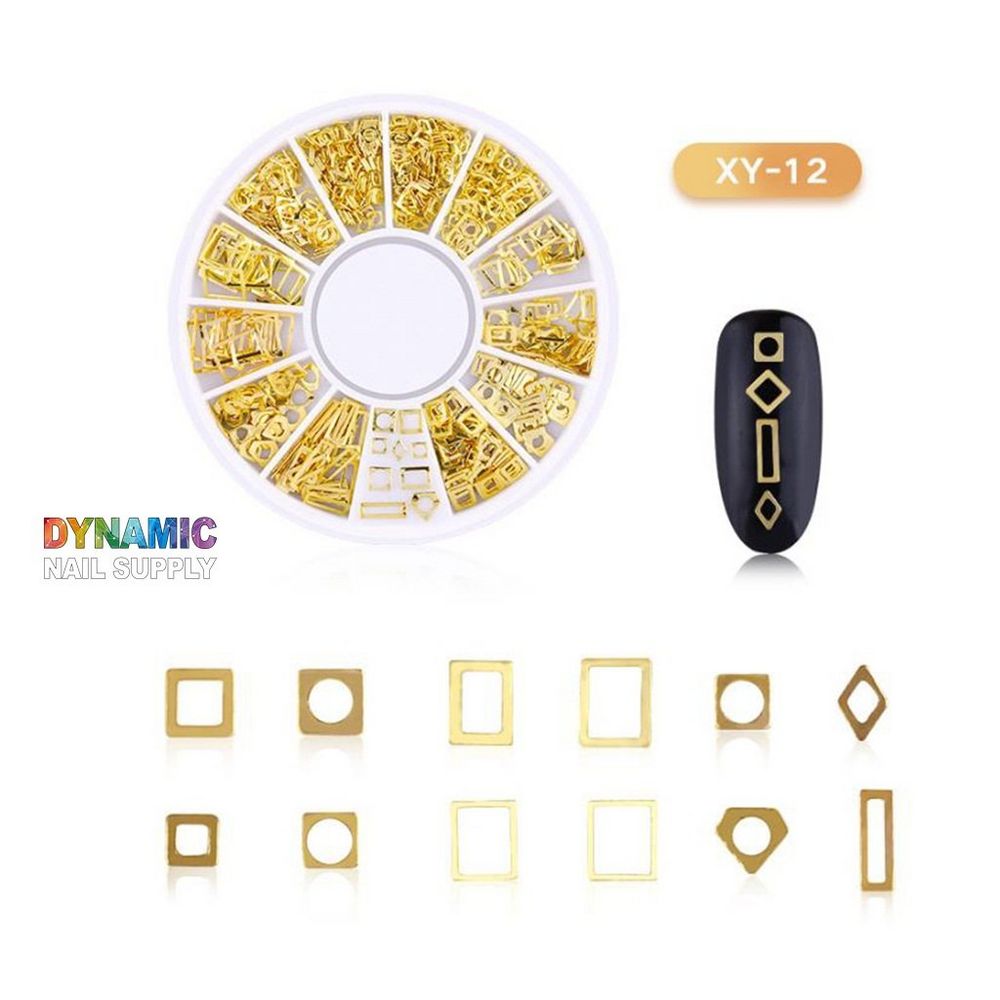
Where to see the exact pieces
For full product specifics and size options like 9, 10, 12 and 17, view the gold metal nail frame gold metal nail frame to confirm which variants suit your clients or personal set. These frames are listed among popular nail accessories and decorative accents for quick styling.
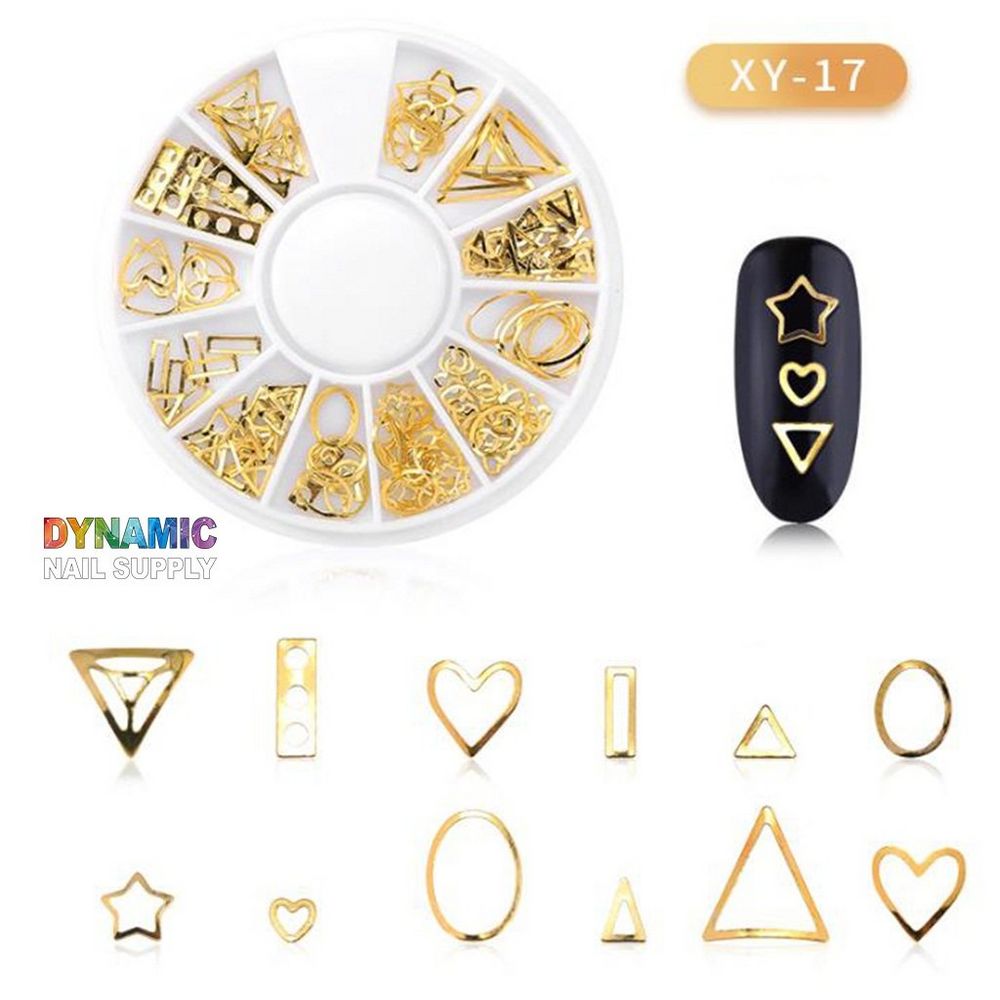
Step-by-step: beginner-friendly application
- Prep the nail: Clean, shape, and remove oils from the nail surface. A clean base improves adhesion and reduces shifting.
- Lay a base: Apply the base color or builder layer you plan to use. Leave it tacky if you plan to press the frame into gel, or fully dry if using adhesive.
- Choose placement: Use tweezers to position the frame. Decide whether you want it centered, at the cuticle edge, or framing negative space.
- Attach the frame: For wet gel, press the frame into the tacky layer and cure per your gel system. For polish, use a small amount of nail glue or a thin layer of clear top coat as adhesive; press and hold briefly until secure.
- Secure and seal: Apply a thin top coat around and over any parts recommended by your product system to lock edges. Avoid thick layers directly over the metal unless your top coat is designed for layered embellishments.
- Finish: Clean any adhesive residue and inspect edges. File or buff only if your workflow and metal allow—many technicians prefer leaving the metal edge intact and smooth with careful placement.
Practical tips for reliable results
- Handle frames with fine-point tweezers to prevent fingerprints and ensure precise placement.
- Match frame size to each nail—mix and match sizes in a set for balanced composition.
- Work one nail at a time when using wet adhesive so the frame won’t shift before it sets.
- Use thin layers of adhesive/top coat to avoid raising the frame and to keep the finished surface smooth.
- If you plan to remove frames later, advise clients that metal accents may require gentle solvent soaking or a mechanical removal method used by professionals.
Key features in context
These gold metal frames are decorative, pre-formed pieces sold in multiple size options and intended for nail art designs. They are compact, easy to store, and designed to speed up complex detailing by replacing freehand metallic lines. At a suggested price of $5.00 per set, they make an affordable way to test metallic framing effects in your nail services (prices may change).
Who will benefit from these frames?
Ideal users include beginners learning composition and placement, technicians who want to speed up salon services, and at-home artists experimenting with metallic accents. Because there are several sizes, both those working on short, natural nails and those creating dramatic nail extensions can find suitable options. Retailers and kit-makers can also add these frames to decorative packs for clients seeking quick upgrades.
Care and safety notes
- Keep small metal pieces out of reach of children to prevent accidental swallowing.
- Handle with care when placing—use tweezers to avoid pinching skin or catching on cuticles.
- Store frames dry and flat to preserve shape and prevent bending.
- Avoid filing the metal unless you are experienced; reshaping can create sharp edges that need smoothing before application.
As a short, practical decorative item, gold metal frames can elevate many nail designs without a steep learning curve. With basic prep, careful sizing, and a steady hand, beginners can add clean metallic accents that last through several wears. For sourcing and variant details, these pieces are available among nail accessories and new arrivals from select suppliers; Dynamic Nail Supply lists similar products if you want to compare options.
Ready to add structured shine to your nail art? Start by picking the size that best matches your nail bed and follow the step-by-step method above to achieve crisp, repeatable results.