
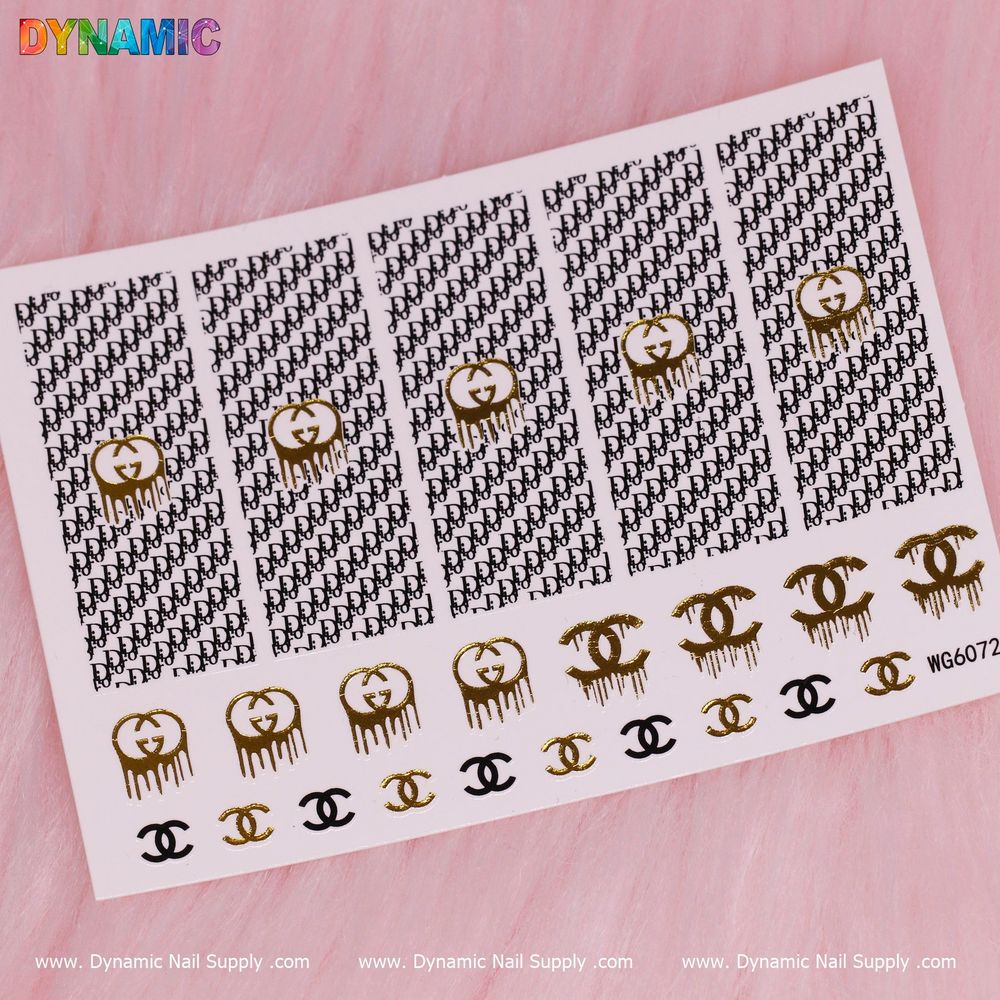
If you’ve ever admired designer-inspired nails but felt intimidated by the tools, luxury nail water decals are one of the easiest ways to get a high-end look without advanced skills. These thin sticker transfers let you add intricate motifs and logos to natural or artificial nails with minimal fuss.
Before you try the technique, get familiar with common terminology and a clear, reproducible routine. For an affordable practice option, consider a luxury nail water decals sheet to get comfortable with cutting, soaking, and placing decals.
What are luxury nail water decals?
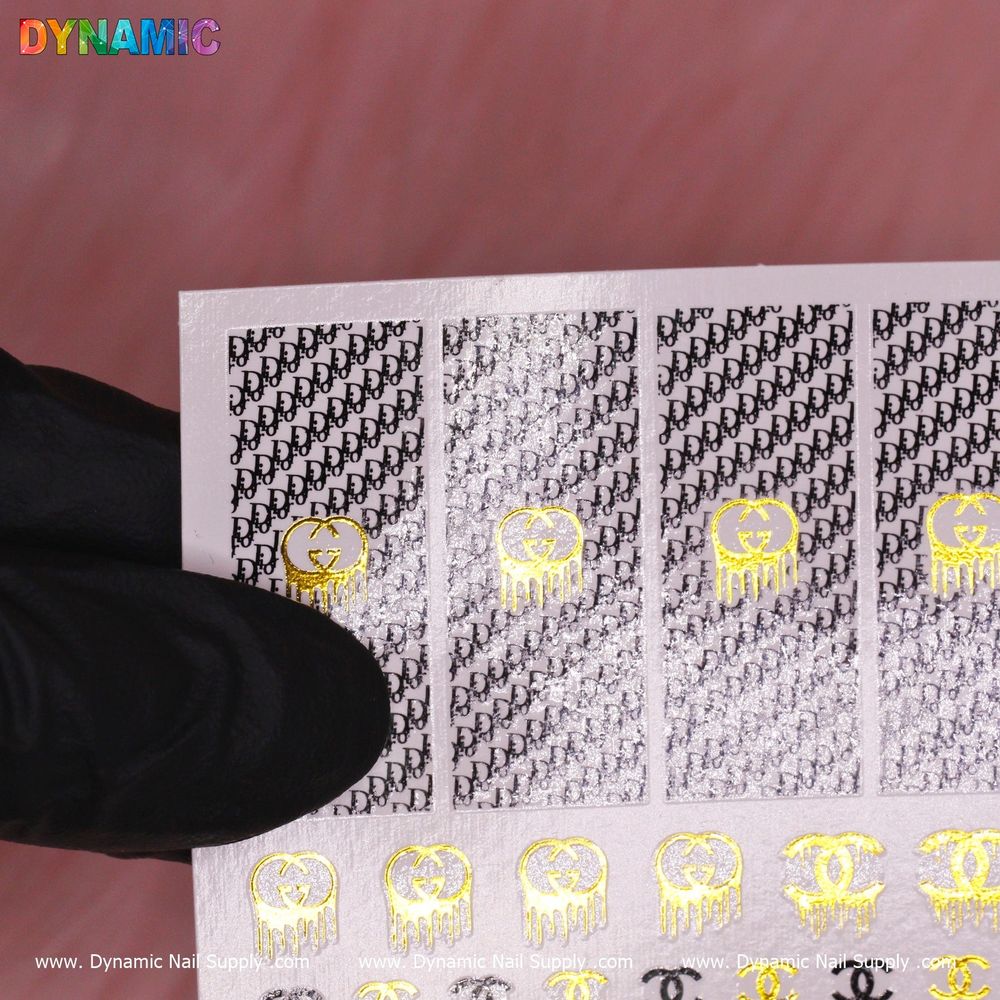
Water decals are paper-backed designs printed on a thin film that releases from its backing when briefly soaked in water. They’re often described as “stickers” or “transfers” and are used to apply detailed artwork—like designer-inspired patterns—onto nails cleanly and quickly. Because the film is so fine, decals conform well to curved nail surfaces for a smooth finish.
Key terms every beginner should know
- Decal film: the transparent layer carrying the printed design.
- Backing paper: the sheet holding the decal until you’re ready to use it.
- Soak: submerging the decal to release it from the backing.
- Slide: moving the decal off the backing onto the nail.
- Seal/top coat: a clear polish applied over the decal to secure and protect it.
Step-by-step: applying luxury nail water decals
- Prep the nail: Clean nails with nail polish remover or alcohol to remove oils. Lightly buff the surface for better adhesion and push back cuticles so the decal lies flat.
- Base color (optional): Apply your chosen polish and allow it to dry completely. Decals often look best over a contrasting or neutral base that complements the design.
- Cut and position: Use small scissors to trim around the motif. Cutting close to the design reduces excess film and makes blending easier.
- Soak briefly: Place the trimmed decal face-up in a shallow dish of room-temperature water for a short time to loosen it from the backing—typically a few seconds. Use tweezers to lift it; if it still clings, soak a little longer.
- Slide and place: Slide the decal off the backing onto the nail, or position it using a wet brush or tweezer. Smooth it gently with a silicone tool or fingertip to remove air bubbles and align the design.
- Trim and press: If the decal overlaps the free edge, trim it carefully or file the excess with a soft file, filing from the surface toward the edge.
- Seal: Finish with one or two coats of clear top coat to lock the decal in place and add shine. Allow to dry fully before normal use.
Practical tips to get salon-style results
- Work on one nail at a time to prevent the decal or base polish from drying before placement.
- Use a small dish and flat tweezers—control is everything when sliding tiny designs.
- If the decal wrinkles, lift it gently and reposition; a quick dab of clear polish under the wrinkle can help smooth it out.
- When sealing, use thin, even top-coat layers to avoid shifting the decal. Allow full curing time between coats.
- Practice on a spare nail tip or a single accent nail to build confidence before doing both hands.
Who should use these decals?
Luxury nail water decals are ideal for beginners who want complex, designer-style looks without freehand painting. They’re also useful for busy professionals looking to add accent nails quickly or for nail techs who want a fast way to offer intricate options. Because they’re accessible and low-commitment, they make a great tool for experimenting with trends.
Care and safety notes
Handle decals with clean hands and keep them away from small children, as the small pieces can be a choking hazard. Store sheets flat in a cool, dry place to prevent curling or damage. Avoid contact with eyes and mouth; these products are for external nail decoration only. When removing, gently soak or use acetone-based remover as you would for normal polish—do not peel aggressively to protect the natural nail.
Features in context: why choose luxury-style decals
Designer-inspired decals give the impression of complex artwork without needing advanced tools or skills. They’re an efficient way to create coordinated sets, accent nails, or seasonal looks. Because the transfer film is thin, it integrates nicely under a top coat for a near-professional finish.
Sheets like this often come in a variety of motifs—classic patterns, logos, and delicate flourishes—making them versatile for many styles. If you’re trying water decals for the first time, a single sheet priced around $2.00 (prices may change) is an inexpensive way to experiment.
Conclusion: start small, finish beautifully
Luxury nail water decals are a beginner-friendly shortcut to ornate, designer-style nails. With a little practice—cutting close, soaking just long enough, and sealing carefully—you can achieve crisp, long-lasting results. Keep basic tools on hand (tweezers, small scissors, a top coat) and practice on one nail before committing to a full set. If you want to try a starter sheet, look for a luxury nail water decals sheet that suits your preferred motifs and start experimenting.
Available through Dynamic Nail Supply and similar retailers, these transfers are a fast route to elevated nail art with minimal skill required.