
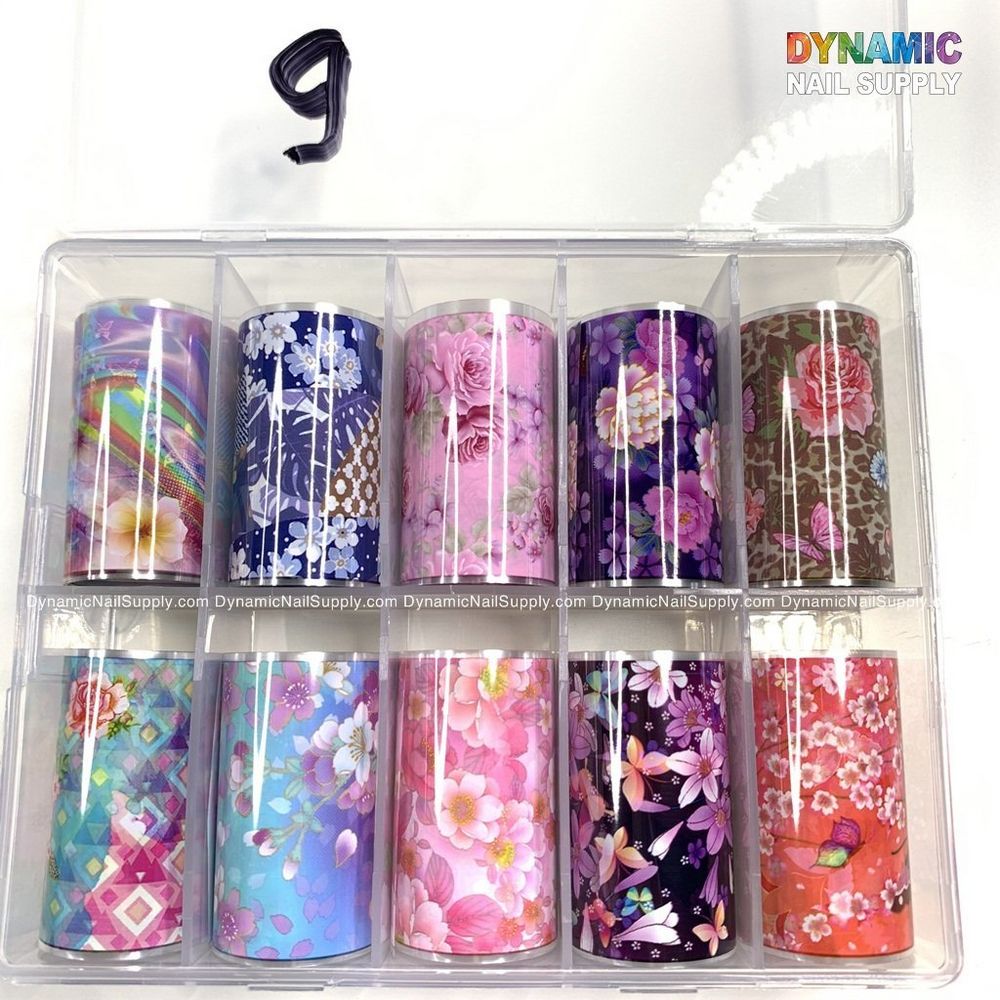
Flower-pattern foils are a fast way to add detailed motifs to nails without painting each petal by hand. This guide breaks down common terms, shows a simple application workflow, and offers troubleshooting tips so beginners can get neat, long-lasting results.
What is a flower nail art foil?
A flower nail art foil is a thin, decorative sheet printed with floral designs that transfers onto a nail surface. Unlike stickers, foil gives a metallic or high-contrast print that can appear layered or textured depending on the finish beneath it.
Key terms every beginner should know
- Transfer foil: The printed sheet used to leave a design on the nail.
- Foil glue / adhesive: A tacky medium used to grab the foil pattern and hold it on the nail.
- Top coat: A clear finish that seals the foil and protects the design.
- Tacky layer: A slightly sticky surface—often from gel polish or special adhesive—needed for the foil to adhere.
If you want to buy a sample or supply for practice, check the the flower nail art foil pack.
Simple step-by-step application (beginner method)
- Prep the nail. Clean, push back cuticles and shape nails as you normally would. A smooth, slightly buffed surface helps the foil lay flat.
- Apply a base. Use either a base color (polish or cured gel) or a clear adhesive layer. The base color will show through any transparent parts of the foil and affect the final look.
- Create the tacky surface. If using gel polish, leave the inhibition layer slightly tacky; if using lacquer, apply a thin film of foil adhesive and wait until it becomes tacky.
- Position the foil. Cut a small piece of foil and press the patterned side onto the nail. Use gentle, steady pressure with a silicone tool, cotton pad, or finger so the design makes even contact.
- Remove the backing. Peel the foil sheet away slowly. The printed pattern should have transferred onto the tacky areas of the nail.
- Seal the design. Finish with a compatible top coat—matte or glossy—to lock the foil in place. If using gel, cure as directed by your lamp and product instructions.
Practical tips for cleaner transfers
- Work with small foil pieces for more control—large sheets are harder to align.
- Apply firm, even pressure when pressing the foil down to avoid patchy transfers.
- If only part of the design transferred, press that area again with a fresh bit of foil; repeated attempts can build up the pattern.
- Match your base color to the foil finish: dark bases make metallics pop, light bases soften the look.
- Practice on tips or a single nail first to get a feel for timing and tackiness before doing a full set.
Key features in context
Design foils with floral prints let you achieve complex motifs quickly. They’re especially useful when you want consistent, repeatable patterns across multiple nails or clients. Because they’re sold as sheets, you can cut and position motifs precisely where you want them—on accent nails, French tips, or full-coverage designs.
Who should use flower nail art foil?
- Beginners who want eye-catching designs without advanced brushwork.
- Technicians looking to speed up floral nail sets while keeping a handcrafted feel.
- Hobbyists experimenting with mixed-media nail art at home.
Care and safety notes
Foils are a decorative medium, not a treatment. Use gentle filing and avoid scraping directly over the design to reduce lifting. Always follow the safety and usage directions for any adhesives, base coats, or curing lamps you use. If you purchase supplies from a retailer such as Dynamic Nail Supply, review the product details they provide for compatibility notes and handling advice.
Troubleshooting common issues
- Patchy transfer: The adhesive may not have been tacky enough—wait a bit longer next time, or apply a thinner, more even layer.
- Foil lifts later: Make sure the top coat fully seals edges and that you used a compatible finish for the materials underneath.
- Design misaligned: Trim smaller sections and use a tool to position before pressing down.
Final thoughts
Flower nail art foil is an accessible, creative tool for adding detailed floral designs without complex freehand painting. With a little practice on tackiness, pressure, and sealing, beginners can achieve professional-looking results. For a starter option priced at $7.00, you can try a sheet to practice layouts and bonding techniques; prices may change over time.
Start with one accent nail, refine your timing, and soon floral foils will be a quick go-to for layered, salon-ready looks.