
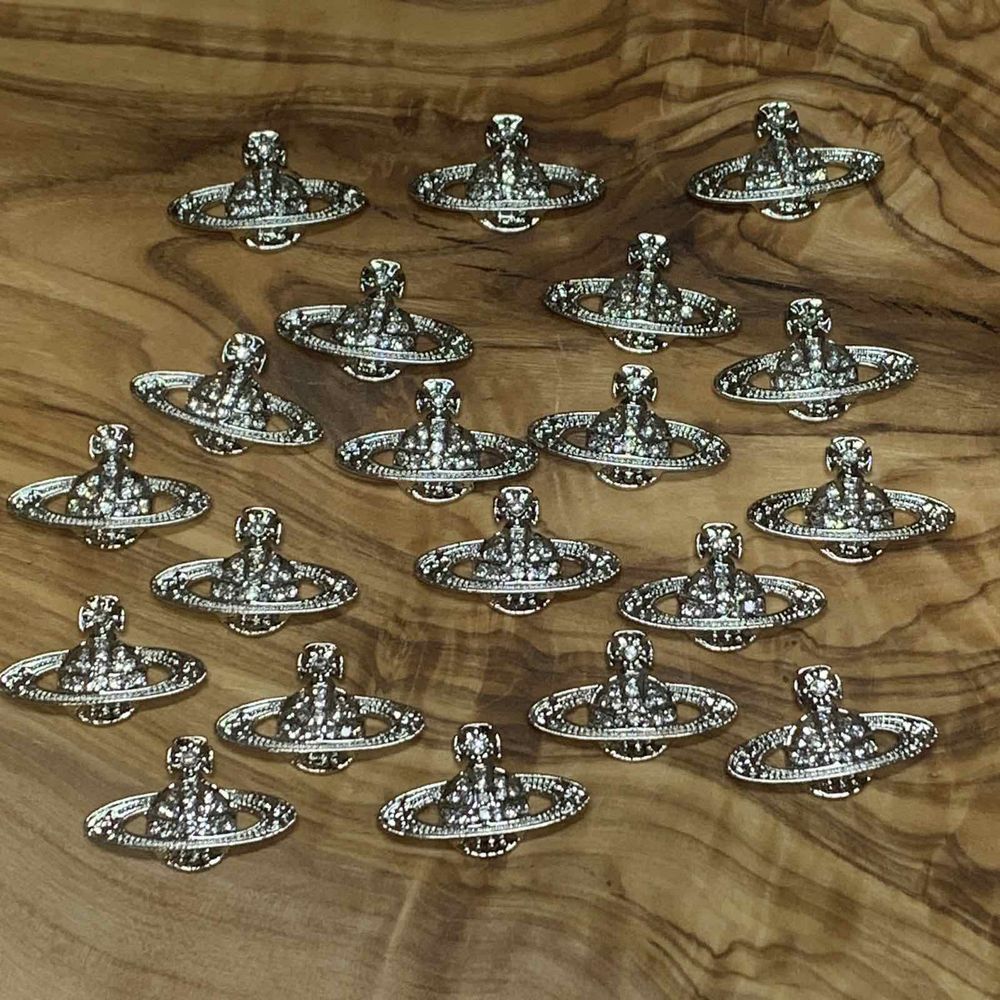
Small accents can transform a basic manicure into something eye-catching. This guide walks beginners through using a 20-piece silver crystal planet nail charms set from unboxing to sealed finish, defining terms and giving step-by-step instructions so you can add celestial sparkle with confidence.
What are these charms and what’s in the pack?
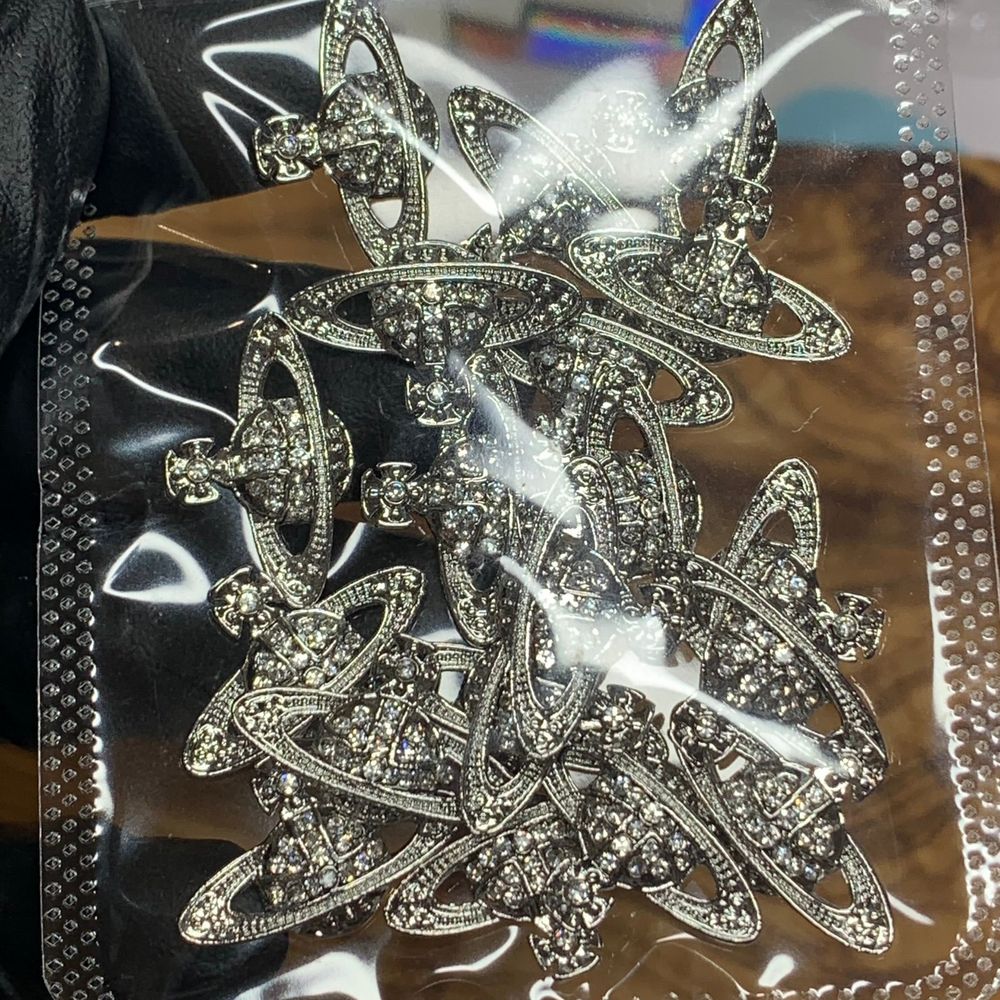
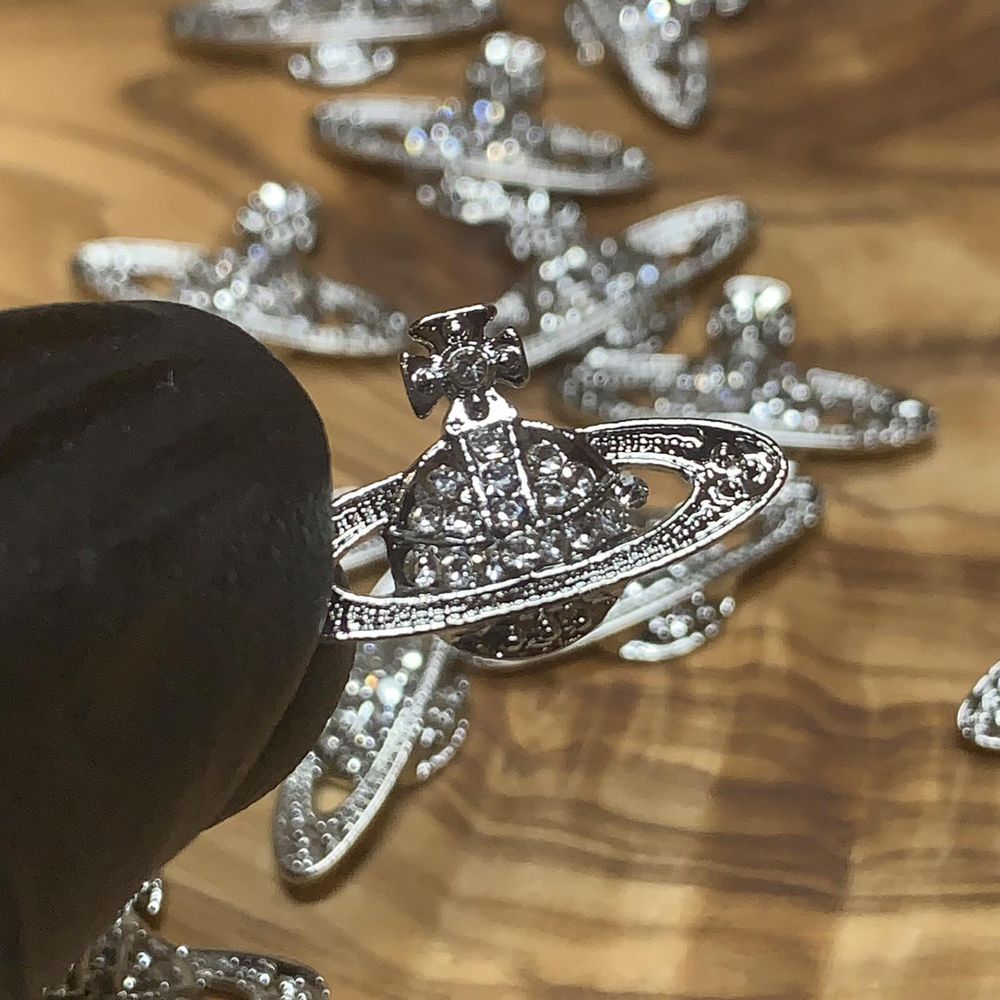
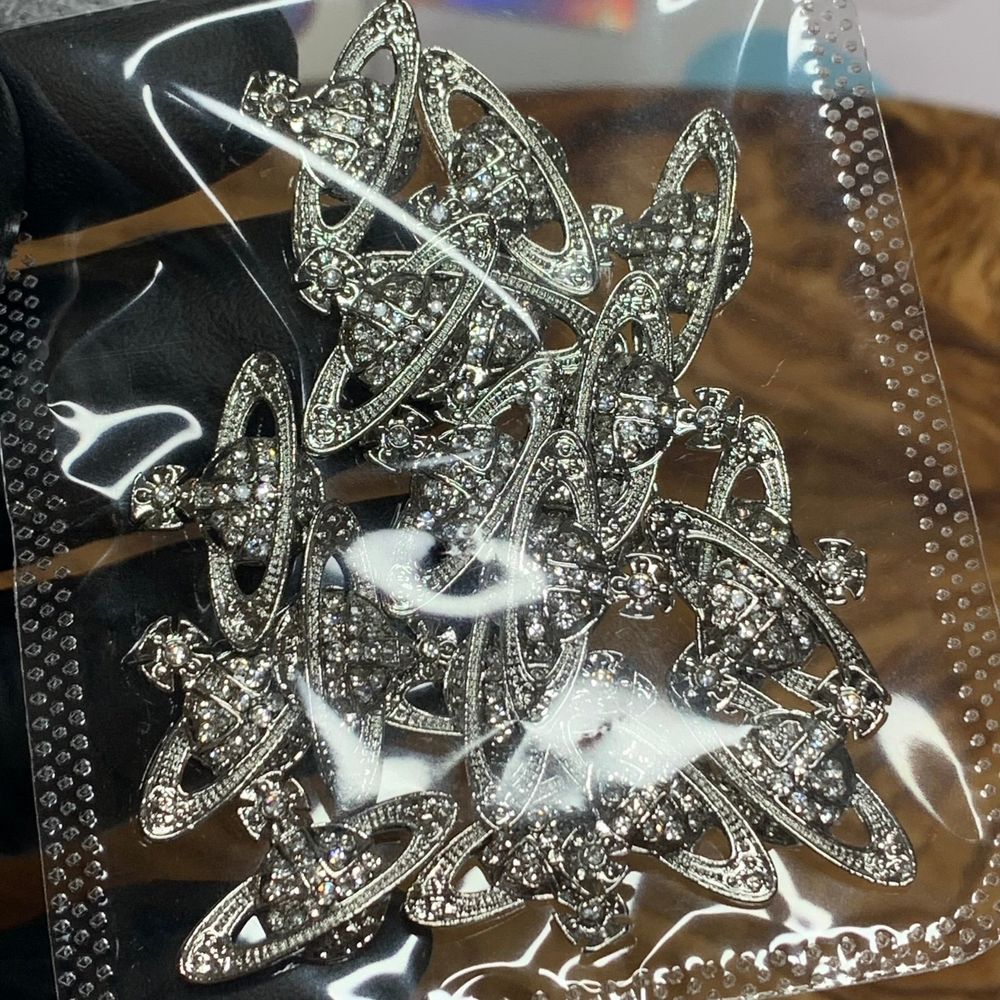
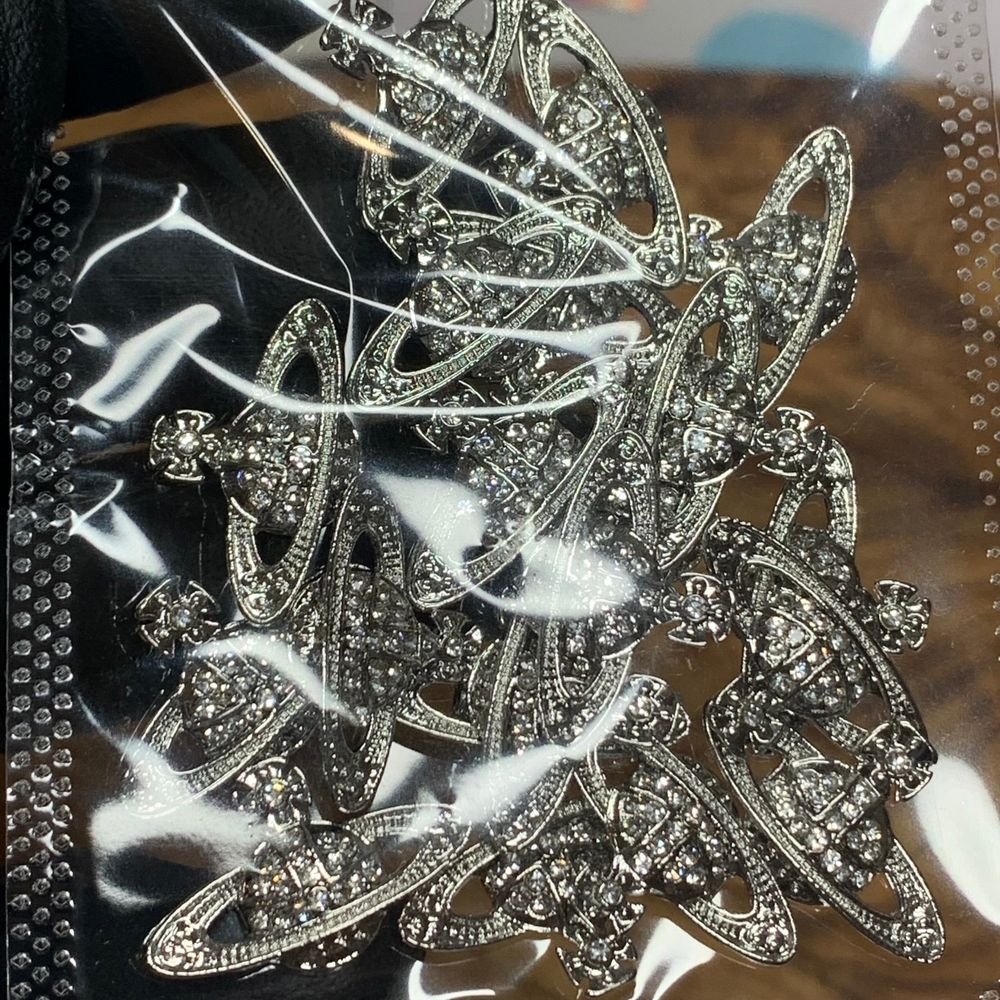
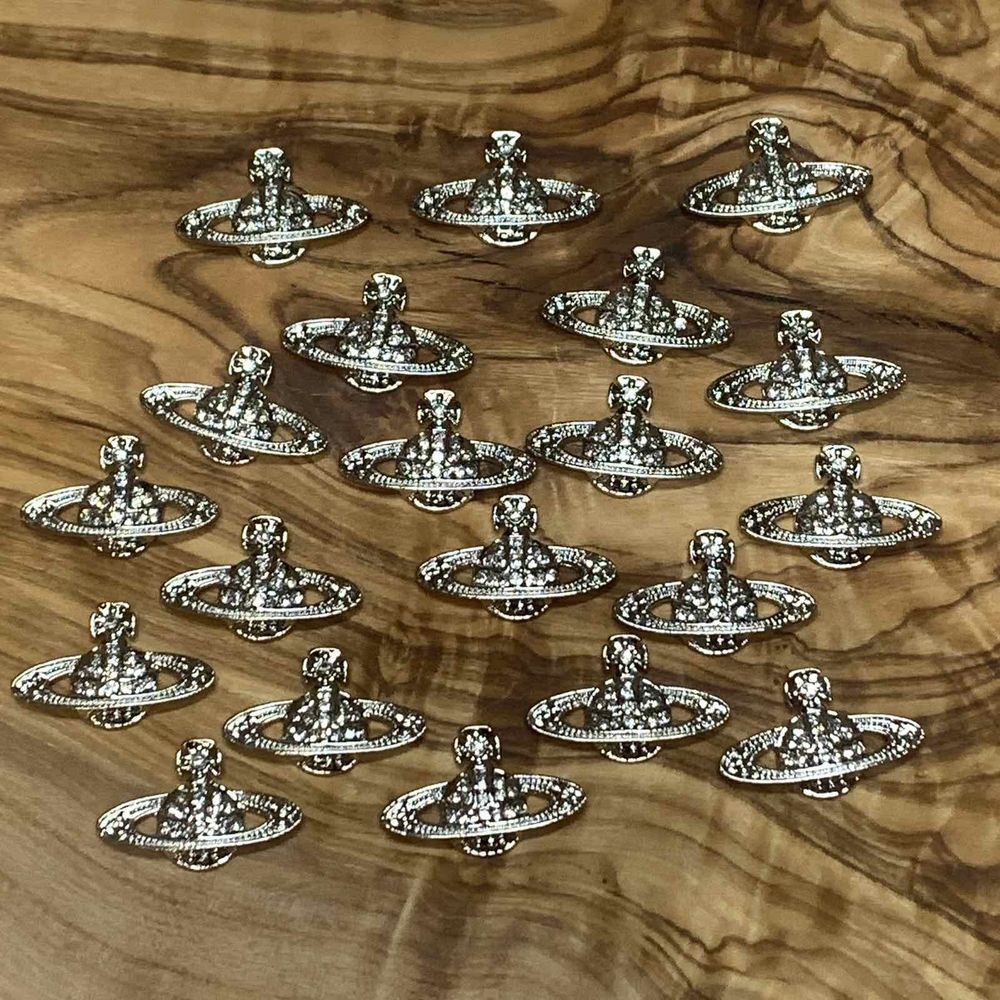
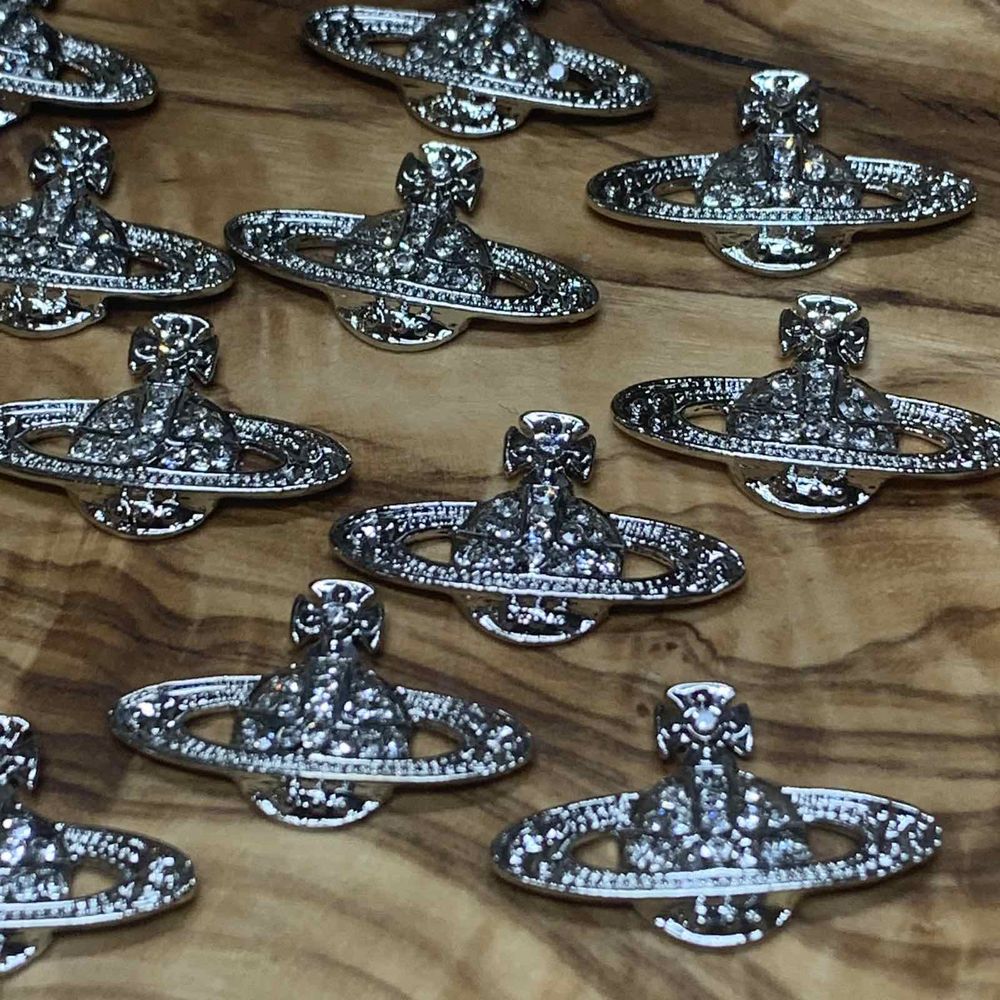
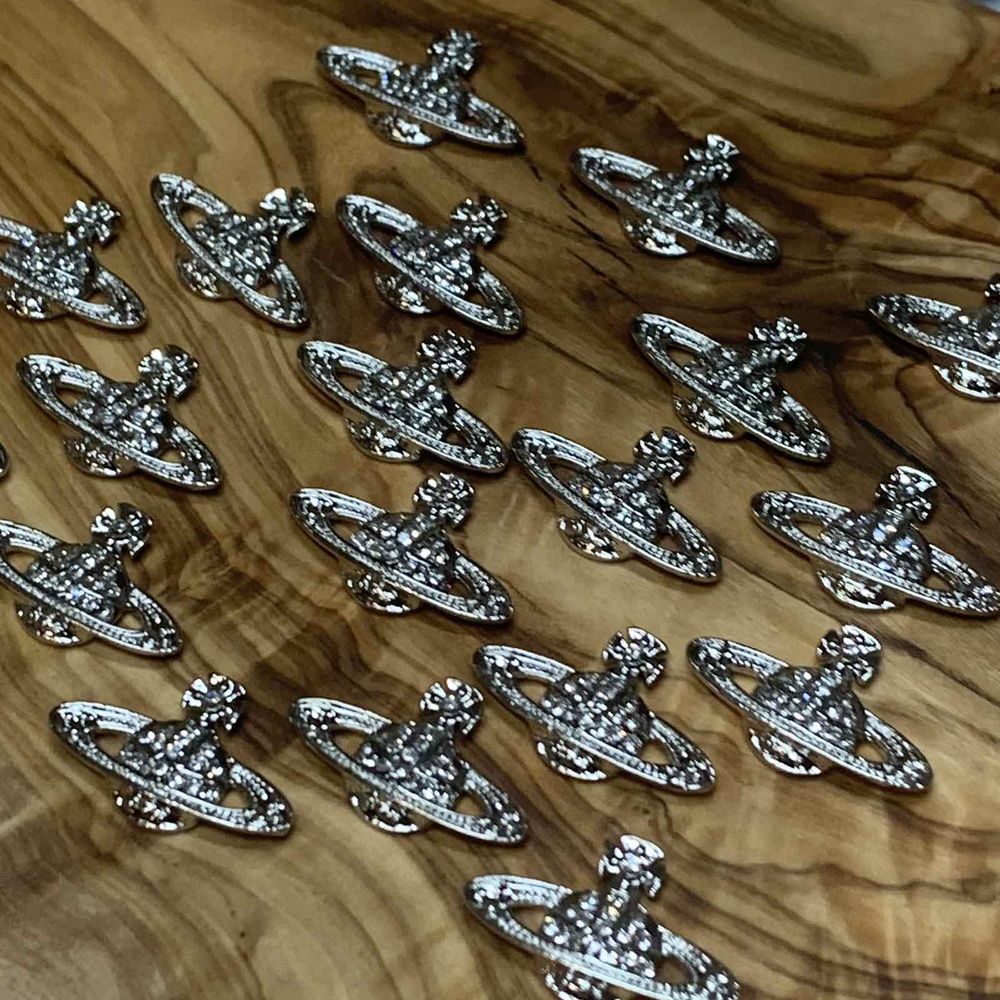
The pack contains 20 pcs Planet Charm for Nails art designer (Silver Crystal rhinestone engraved). These tiny metal-and-crystal accents are designed to be applied to finished nails as decorative elements. In nail-industry terms, they’re often called nail charms, nail decals, or 3D embellishments.
Key terms explained (quick reference)
- Nail charm: A small decorative piece attached to the nail surface.
- Topcoat: Clear polish or gel used to seal and protect decor.
- Nail glue vs. gel: Nail glue bonds quickly and is ideal for tiny metal charms; gel (cured under LED/UV) creates a stronger, longer-lasting hold when layered and cured.
- Placement: The exact spot on the nail where you attach the charm — center, cuticle line, accent corner, etc.
Before you start: tools and workspace
Set up a clean, well-lit area and gather simple tools: a fine-tipped tweezer or wax picker, nail glue or builder gel, a small dotting tool or orange stick, and a topcoat (traditional or gel). If you’re using gel adhesive, have your LED/UV lamp ready. For beginners wanting a quick trial, consider a pre-made pack rather than mixing individual charms from different sources; many salons and retailers sell the 20-piece silver planet-themed packs specifically for practice. For example, you can try this planet charm set to practice simple placements and familiarization.
Step-by-step application (beginner-friendly)
- Prep the nails: Remove old polish, lightly buff the nail surface, and push back cuticles. Clean nails with isopropyl alcohol if available to remove oils.
- Apply base color: Paint your chosen polish or apply your gel base and cure if needed. Let a tacky layer remain if you plan to press the charm into wet gel.
- Plan your layout: Hold a charm over the nail to test placement before securing. Work one nail at a time.
- Attach the charm: For regular polish, place a tiny drop of nail glue where you want the charm and use tweezers to set it. For gel, add a small bead of builder/top gel, place the charm, then cure per gel instructions.
- Secure and seal: Once all charms are set, apply a careful layer of topcoat around (not always over) the charm to lock edges; for a stronger hold, encapsulate with builder gel and cure. Wipe away excess glue or gel promptly with an orange stick or lint-free wipe.
Placement ideas and design tips
- Use one charm on an accent nail for a subtle, elegant look.
- Group 2–3 charms near the cuticle line to create a mini constellation effect.
- Pair the silver crystal charms with deep navy, black, or muted pastels for strong contrast.
- Mix with small rhinestones for graduated sparkle — place the planet charm as the focal point and surround with tiny crystals.
Who should use this set?
This planet nail charms set is ideal for beginners wanting to experiment with 3D decorations without committing to large quantities. It’s also suitable for home enthusiasts creating seasonal or themed manicures and nail tech students practicing placement techniques. Dynamic Nail Supply offers this kind of compact pack that’s convenient for learning.
Care, wear expectations and safety
Because decorative charms are small, they can catch or snag during daily tasks. Take these precautions:
- Press charms firmly and seal edges with topcoat or gel to reduce lifting.
- Avoid excessive soaking (e.g., hot baths) right after application to allow glue or gel to fully set.
- Keep charms away from children and pets — they are a choking hazard.
- If you need to remove charms, gently lift edges with a cuticle stick after soaking nails in warm, soapy water or using remover for glued embellishments.
Storage and longevity
Store unused charms in a dry, labeled bag or small container to prevent loss and keep them dust-free. Because the pack contains 20 pieces, you can rotate designs across several manicures. If you bought the set as a purchase, note that typical retail listings show a comparative price; the current listed price for this 20-piece bag is $12.00, but prices may change.
Final tips for a polished result
- Practice on a single accent nail first to get comfortable with placement and adhesive amount.
- Use minimal glue — excess glue can ooze out and dull the finish.
- For long-lasting wear, encapsulate the charm under a thin layer of builder gel if your skill set allows.
- Label your storage with the charm description so you can easily find the silver planet pieces when planning designs.
With a little patience and the right technique, the 20 pcs Planet Charm for Nails art designer (Silver Crystal rhinestone engraved) can lift simple manicures into memorable, themed looks. Start small, experiment with placement, and keep your tools handy — these tiny planets can make a big visual impact.